If you’ve purchased a frame from us, you'll find that these sturdy metal frames are perfectly sized to fit your certificate without requiring an extra mat.
Here is a step-by-step guide on how to assemble your frame.
If you still have difficulty after reading this guide, please don't hesitate to contact us - we're always happy to help.
You will need (not included in purchase):
• Flat head screwdriver
• Gloves (optional; the edges of the metal frame can be sharp)
To insert your contract into the metal frame:
1) Turn your frame over so the foam core backing is facing up.
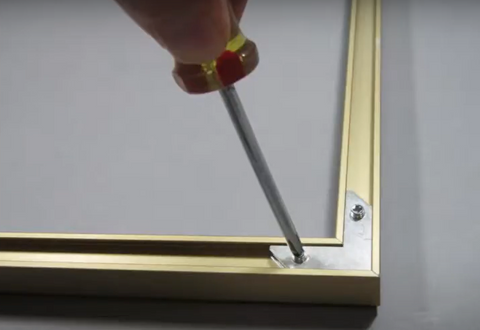
2) You will see silver brackets in each corner. Loosen 2 inner screws (on each bracket) from either end of the longest frame rail and pull the rail out. The brackets should remain in this rail.
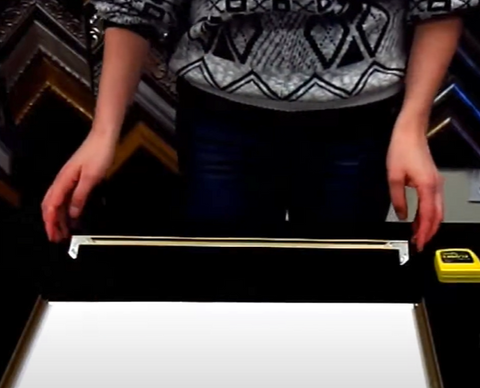
3) Carefully slide out the acrylic glass and foam core backing. The acrylic glass will have a thin plastic covering on it which will need to be peeled off.

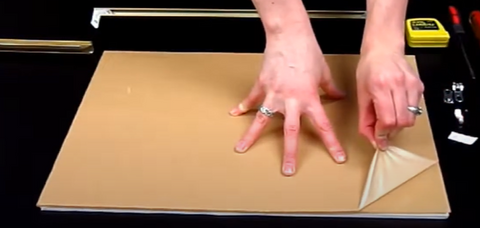
4) Peel the plastic coating from both sides of your glass. Wipe it with a microfiber cloth and place it on top of your certificate and foam core backing. Then remove the top coating and wipe this side. Your certificate should be in between the glass and foam backing.
5) Slide your certificate back into the frame, all together. Do not slide the glass in separately, as it could scratch the certificate.

6) Insert the brackets back into the two open ends of the attached, U-shaped frame rails so the frame is assembled again. Tighten the screws.


Pro Tip: If you would like to sign your contract with the frame, you may insert just the certificate with the foam core backing. You can follow the above steps again to disassemble and add the glass after your contract signing.
7) Your contract is framed!

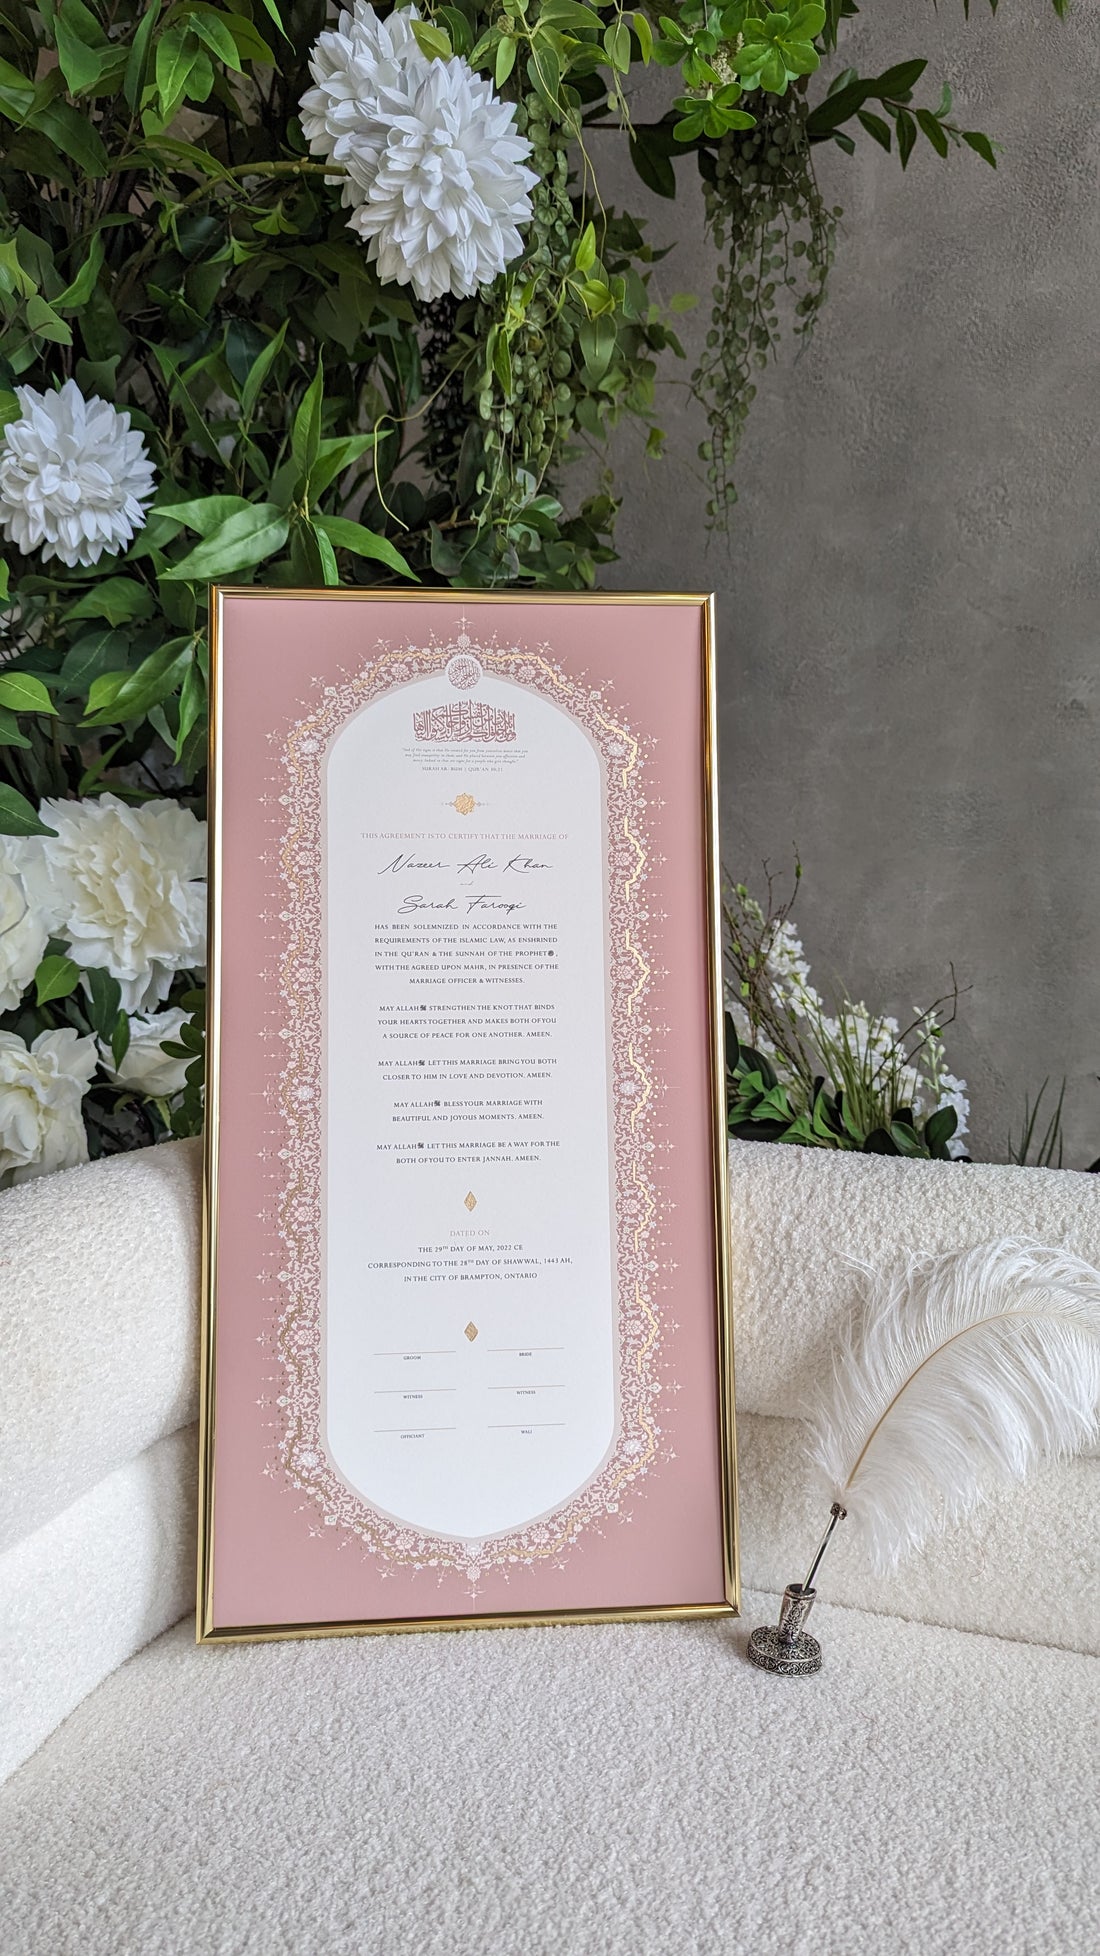
(The Jahanara nikah contract with gold embellishment - find it here)